With Laraship You can create multiple roles and assign each user one or more of these roles.
Super User has access to all modules.
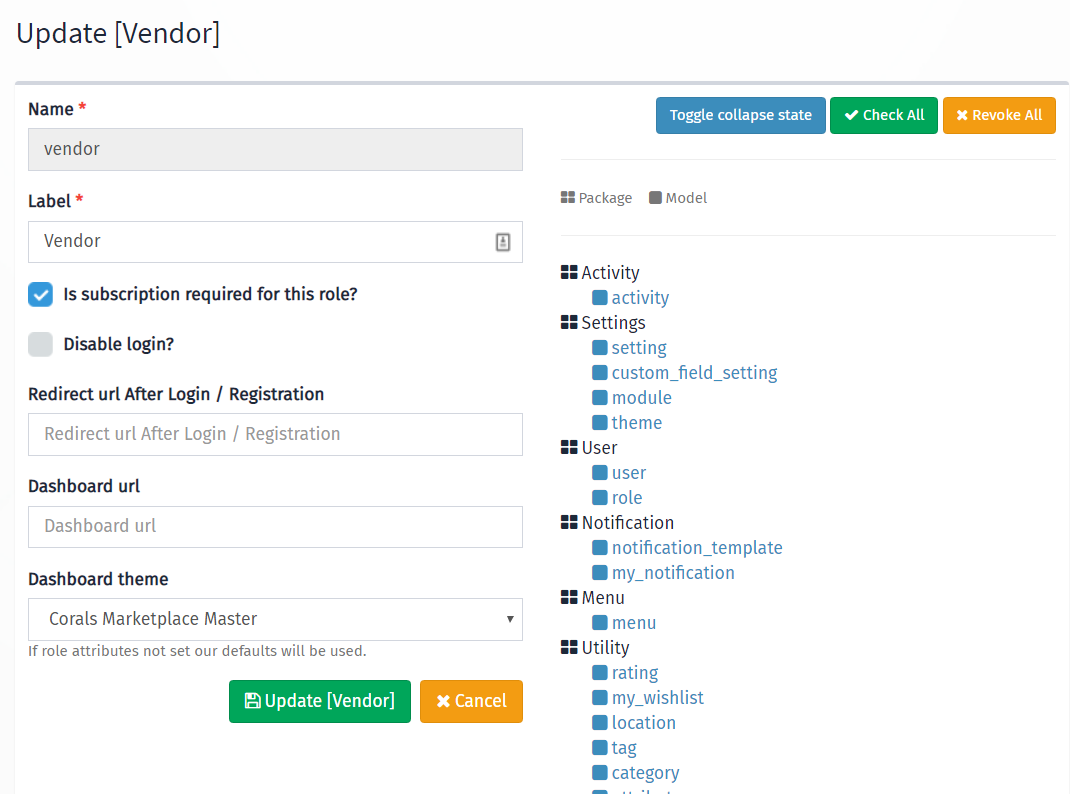
to Manage Role go to User => R0les, as in the screenshot below you can set the following attribute per role
Subscription Requirement: if checked then it will require the user with that role to subscribe to a plan and user will be redirected on the login to the pricing page.
Disable Login: if you are looking to create a user but just for an internal user without giving him the access to log in then you can select this flag.
Redirect After Login: here you can set up a URL where the user will get redirected to on login and registration success.
Dashboard URL: if you want to have a different dashboard for a specific role then all you have to do is specify that URL for example “/business/dashboard” to a business role.
Dashboard Theme: selected admin theme is the default theme for users on login, however, if your theme has a dashboard version then you can select it from the drop-down, Note: this will require role users to log out and log in again to take effect.
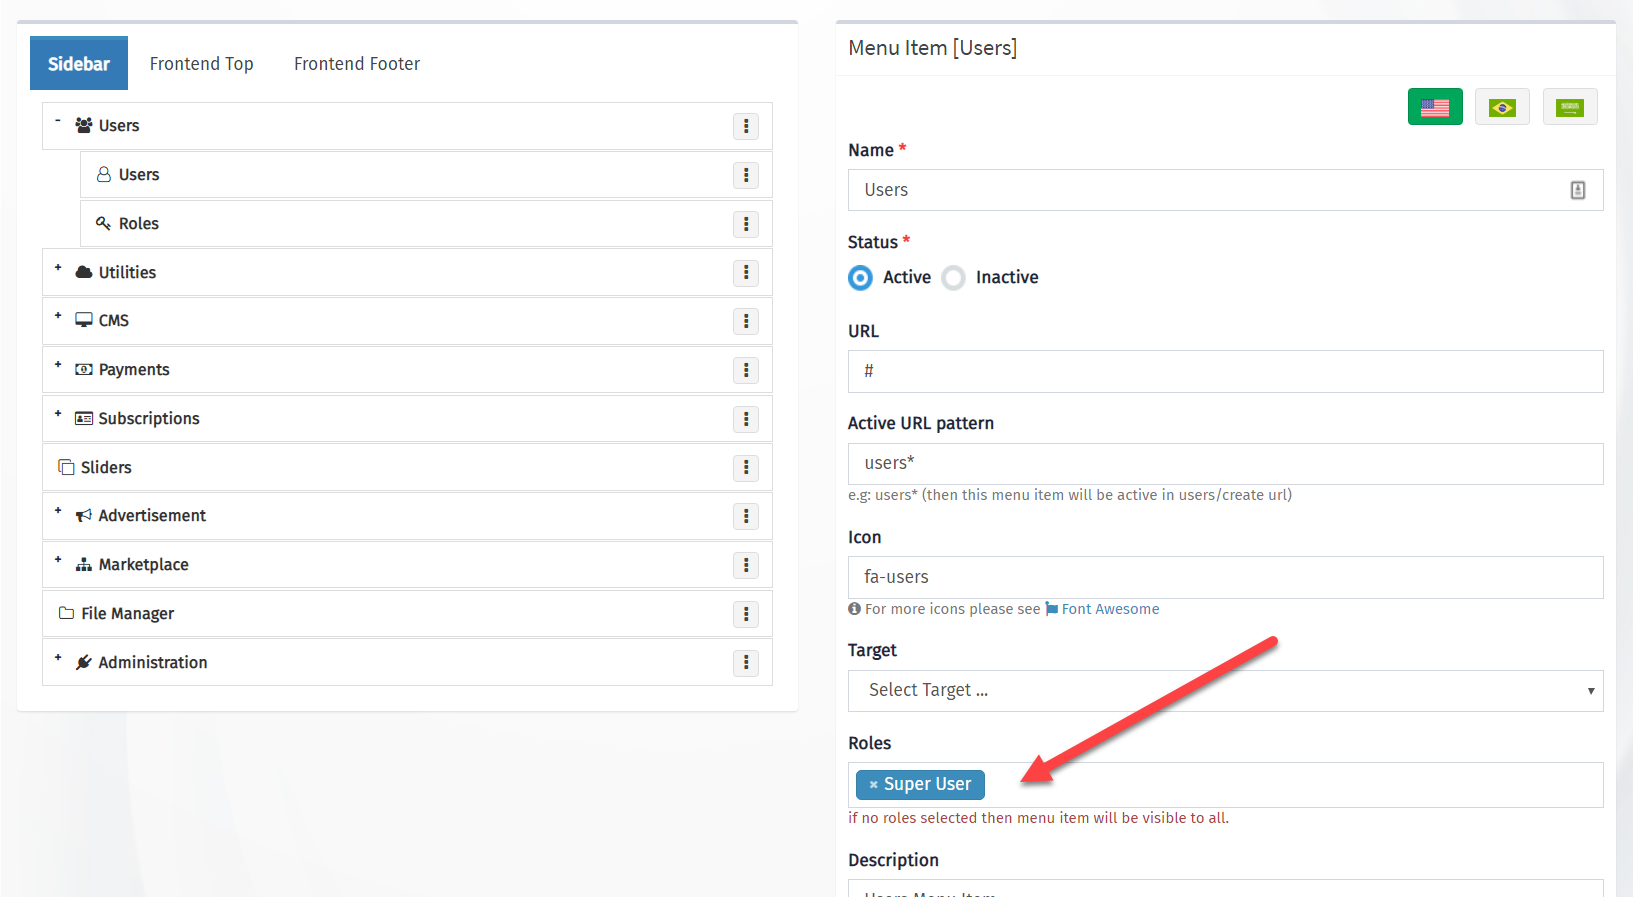
The menu is not enabled by default for new or modified roles, you need to assign the role to the menu items and their submenus from Menu Management.
Each Module has “Admin” Permission so you don’t assign every single permission for an Admin role, These permissions are under Administration >> Admin as in the screenshot below.
Default Registration role can set from the Settings, however with Laraship you can create different themes and URLs for registration for each role, so instead of a standard /register URL, it can be /register/business or /register/buyer and the same thing for login. pages, overridden login and registration pages should be located under resources/themes/[active-theme]/login/[role].blade.php and resources/themes/[active-theme]/register/[role].blade.php as in the screenshot below