PayPal Configuration
- Extract the zip file and copy the PayPal folder under Corals\modules\Payment\PayPal.
- Go to Modules and enable PayPal plugin.
- Create a PayPal Application :
To create a Paypal App, go and visit: https://developer.paypal.com/developer/applications
You need to be logged in to your PayPal account to be able to access their developer page. So first, login to your PayPal account and then follow the link above to get to their developer page. This should look similar to the one shown in the image below:

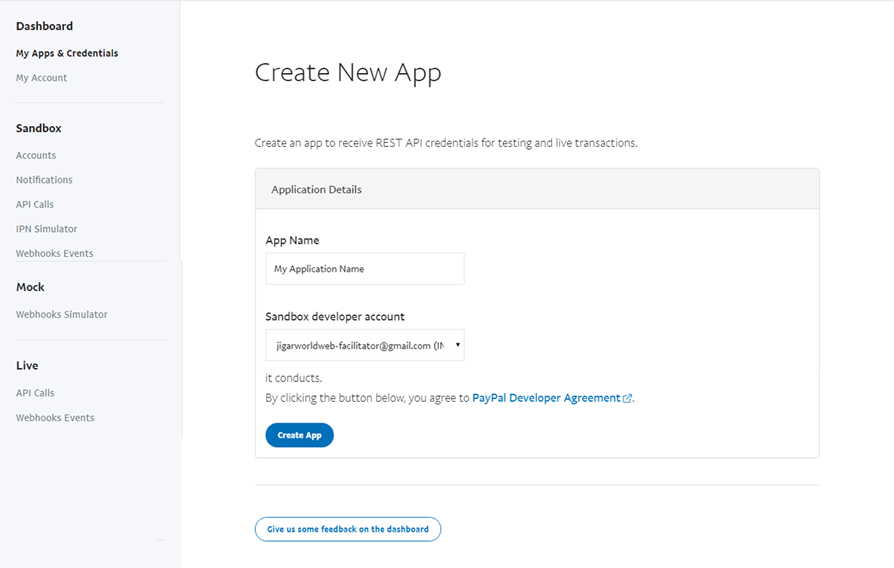
When you click on “Create a App”, A new window will pop up (see image below). Enter a App name and Sandbox developer account. Now Click on Create App.
By clicking on Create App, it will redirect you to the settings page for your new PayPal App. page will look like as mentioned in the image below:
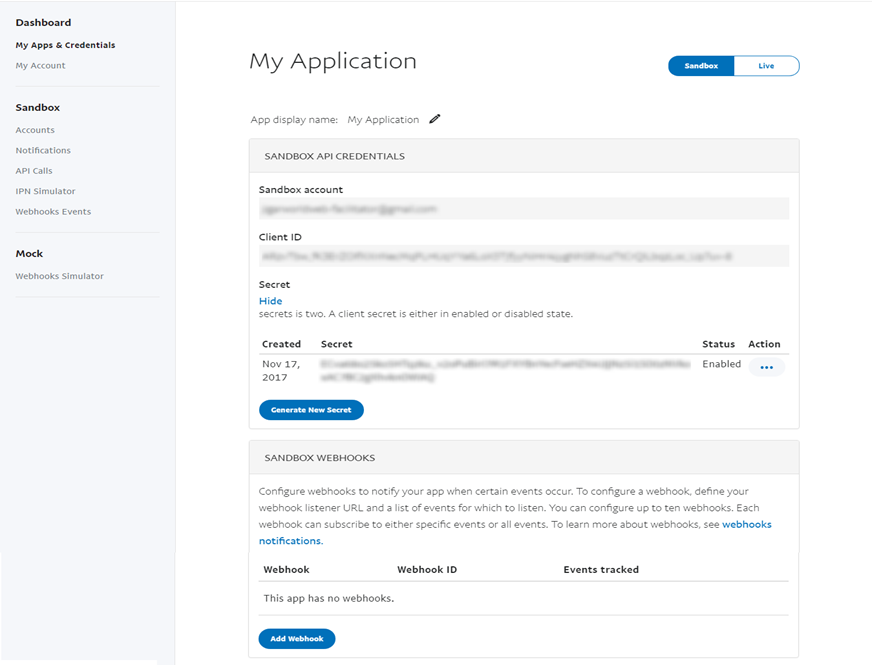
Now, Copy the Client ID and Client Secret in to the Paypal App settings within the Plugin settings page (See image below).

Important: When you copy and paste all the needed IDs and Keys, make sure, that you don’t have any empty spaces, either at the beginning nor at the end of these entries. If you have any empty spaces, then the Application won’t work and will show an error message when you try to connect to the App
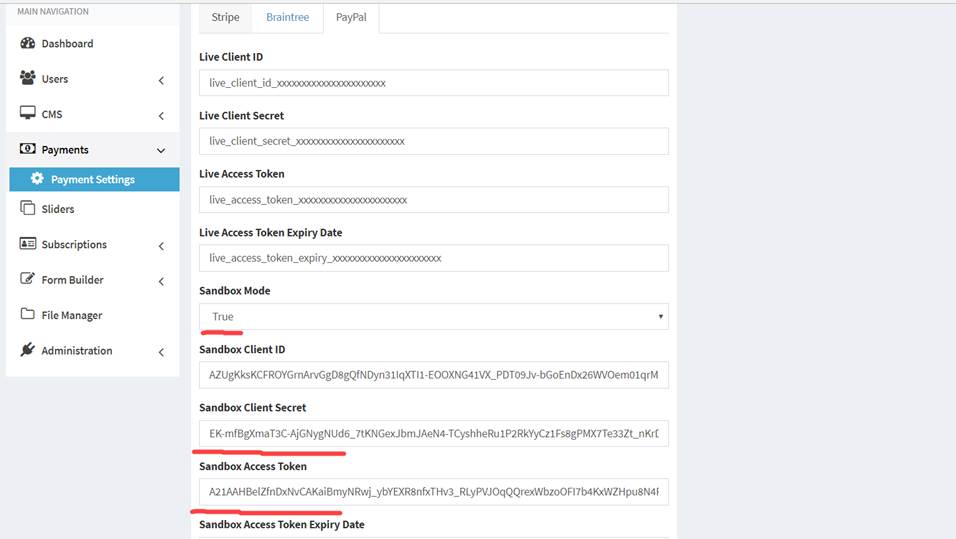
- Under Payments => Payment Settings you can find a new Tab called PayPal
Add your settings there
- Webhooks is needed to trigger lLaraship application when payment has failed or subscription is cancelled also to create invoices : Under your Paypal Application create a Webhook:
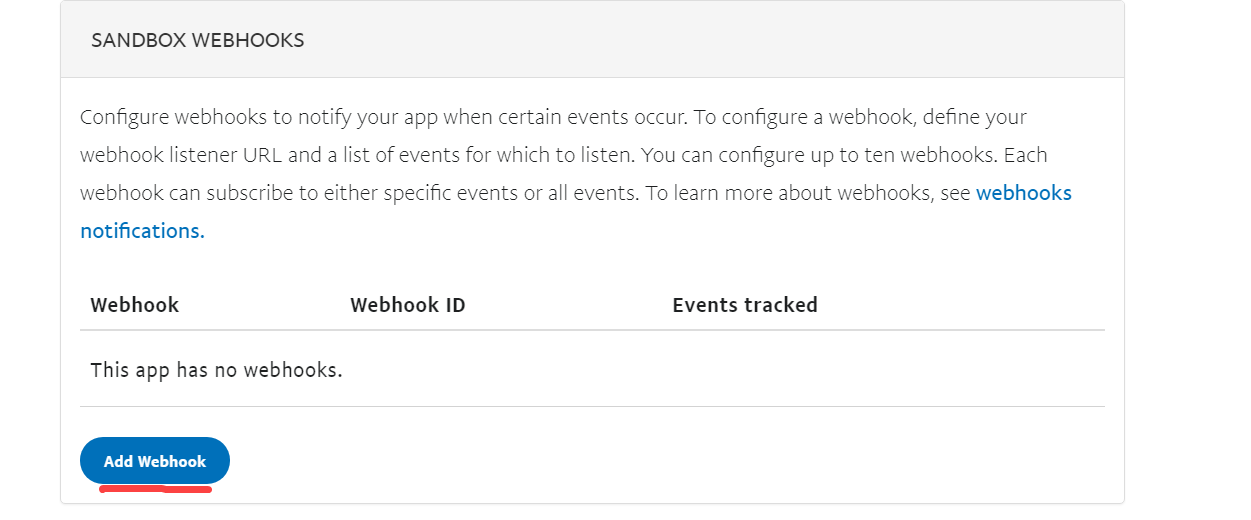
Your Webhook URL should be
https://[you-domain.com]/webhooks/paypal_rest
Subscribed Events are:
Billing subscription cancelled
Payment Sale Pending
Payment Sales Completed
Payment Sales DENIED’