Google Enhanced eCommerce Tracking
If you’re interested in SEO, If you need it for online success, you’re aware of it and on top of it. and you want to track the behavior of your site visitors access the e-commerce platform.
But if you’re only using “regular” old Google Analytics, you’re missing out on a ton of valuable and free data that could help you increase revenue, engagement, and clicks. That’s the e-commerce trifecta. How do you get there?
Introduced about two years ago, the Google Analytics enhanced e-commerce plugin– offers up the kind of data you could only dream of in the past.
Laraship eCommerce along with its eCommerce modules and Themes are now integrated with google enhanced e-commerce events, to be the first Laravel e-commerce which has this unique feature, through which you will be able to :
- Customer behavior at every stage of the funnel – before, during, and after a purchase.
- Detailed reports on average order value, the percentage of visitors who added items to the carts, average number of items in an order, affiliate records (number of transactions, revenue, and AOV from affiliates sending traffic to your portal), and cart abandonment rates.
- How, when, and where customers are initiating a purchase and/or abandoning it – at which step in your funnel are you losing them?
- Engagement – views and purchases.
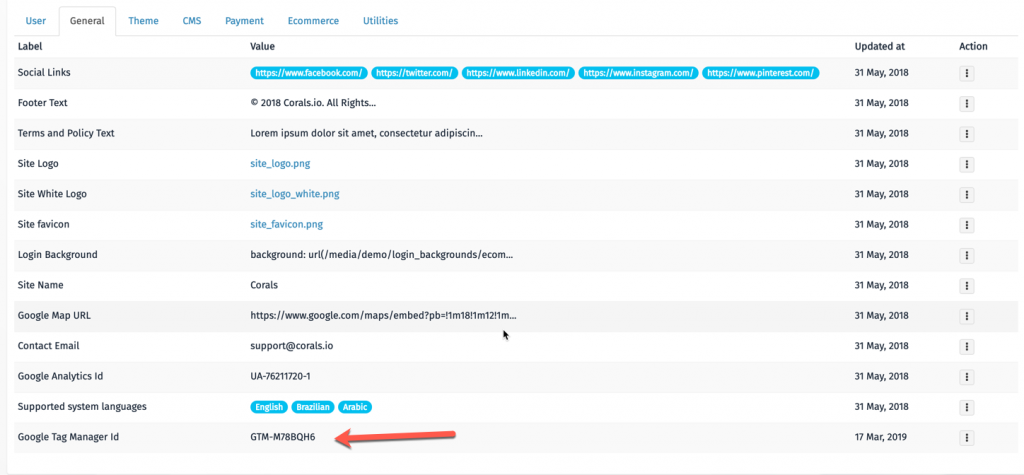
To integrate Laraship with Enhanced eCommerce you need to have your Google Tag Manager Account (GTM), also please make sure you have the latest version of Laraship as updates are pushed to support this feature, then add the following configuration
GTM ID can be added under Administration -> Settings -> General
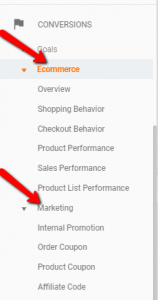
Step – 1: Toggle Enhanced e-commerce in Google Analytics (recommended in Test View)
This is the most important step to which lets the analytics show processed & configured in the e-commerce Reports.
Make sure you have a test view created, if not just create a new one. It’s not a good idea to do test tracking in your main (filtered view).
In the Test View, Go To E-commerce Settings > Enable E-commerce > Enable Enhanced E-commerce.
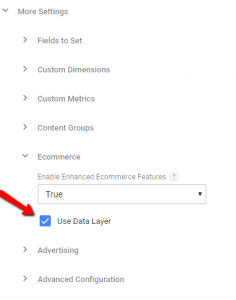
Step – 2: In GTM, Create Google Analytics Event Tag with Enhanced Ecommerce dataLayer Option Checked.
Just create one analytics event tag in google tag manager.
- Category : ‘Enhanced Ecommerce’
- Action: ‘{{Event}}’
Enable the dataLayer option in More Settings > E-commerce.
Save the Tag without Trigger. We’ll be constructing the trigger in the next step
Step – 3: In GTM, You can now create a new trigger to include regex event named ‘productImpression|productClicks|productDetail|productAddToCart|productCheckout|transactionSuccess‘.
Attach this trigger to previously created analytics event tag.
![]()
That’s it!
You should start collecting information at your google analytics, to test your setup correctly we recommend you install the below chrome extension
https://chrome.google.com/webstore/detail/gtmga-debug/ilnpmccnfdjdjjikgkefkcegefikecdc?hl=en
and you should see results as seen in the screenshot below
![]()